Aussie Deals: 62% Off AC Valhalla, 41% Off Ghost of Tsushima and Persona 5 Strikers, Plus More!

If you’ve been holding off from buying Assassin’s Creed Valhalla—stalking it from the shadows perhaps—now’s the time to unsheathe your wallet and strike. You know what? Maybe use the exact same strategy on Ghost of Tsushima, too. Last of all, I’ve found a bunch of other, non-stealth-based savings that should be acquired before time runs out. Get scrolling to get discounts…

Notable Sales for Nintendo Switch

Purchase Cheaply for PC

Exciting Offers for XO/XS

Product Savings for PS4/PS5

Sign up to get the best Aussie gaming deals sent straight to your inbox!

Adam’s an Aussie deals spotter who’s played 3 hours of Far Cry 6 already. He’s also been known to be @Grizwords.

‘No One Solution’ For Naughty Dog Crunch, Neil Druckmann Says

As concerns about crunch culture remain at the forefront of the games industry, Naughty Dog’s leaders are speaking out about what they’re doing to assess working conditions at their own company.

Known for franchises like Uncharted, The Last of Us, Crash Bandicoot, and Jak & Daxter, Naughty Dog has been a prominent force in the AAA development scene for the two decades. However, ahead of one of 2020’s biggest releases, The Last of Us Part II, reports began to emerge about instances of crunch culture within Naughty Dog’s ranks. After the game was delayed, developers anonymously said the delay led to sustained crunch rather than more breathing room.

Naughty Dog co-presidents Evan Wells and Neil Druckmann spoke to Game Informer about how the studio is working to move forward and make changes after last year’s reports of crunch.

Druckmann says Naughty Dog is assessing ways the studio can improve, including evaluating the well-being of Naughty Dog employees by looking at how many hours employees are working and how much stress they’re feeling, among other factors.

“Everybody has a different definition of what crunch means,” Druckmann said. “We find that there is no one solution that fits everybody. Everybody has a unique situation we might need to address.”

Game Informer also asked Wells and Druckmann about unionization. Wells said he hasn’t put a lot of thought into it, and doesn’t know if it would be a solution to crunch. Druckmann says the studio has tried to implement anti-crunch solutions in the past, but a one-size-fits-all solution doesn’t always lead to results.

“… we’ve said, ‘Okay, no working past this hour,’ or, ‘It’s mandatory that no one can work on Sunday,’ and they’re always a lot of corner cases of someone saying, ‘Well, I couldn’t work on Friday because I had to be with my kids. It’s actually more convenient for me to come in on Sunday.’ When you try to have a silver bullet, like one solution, you’re always leaving someone behind. That’s why we feel like we need multiple solutions. We have to approach this from multiple angles.”

Wells also spoke on the topic of strict work limits, saying, “If we had some sort of restriction where when the clock strikes 40 hours the servers shut down and you can’t work anymore, that would frustrate people to no end. There are people who really want to put in that extra polish on their own volition, and they would feel handcuffed.”

The interview has drawn criticism in some corners, with one games media member calling Wells and Druckmann’s responses “wishy-washy,” and others saying Naughty Dog missed an opportunity to make themselves look decent. However, Naughty Dog environmental artist Anthony Vaccaro pushed back against these assertions, calling the effort to address crunch at Naughty Dog “dramatic.”

It remains to be seen how Naughty Dog will adjust to the reports of crunch among its employees. Crunch remains a common problem in video game development. Red Dead Redemption 2 creator Rockstar and Cyberpunk 2077 developer CD Projekt Red have also come under fire for unhealthy work environments.

However, Insomniac, another studio under Sony’s first-party umbrella, reportedly managed to ship Ratchet and Clank: Rift Apart “completely crunch free.” Multiple Ratchet and Clank developers posted on Twitter saying they experienced a healthier work-life balance than could be found at many other big-budget studios.

Logan Plant is a freelance writer for IGN. You can find him on Twitter @LoganJPlant.

Madden NFL 22 Hammered By ‘Loss Glitch’ And Other Bugs As Players Await Patch

It’s been another tough start for Madden NFL 22. In the wake of mixed reviews, EA’s NFL franchise is once again suffering a variety of strange glitches and bugs, some of which can break the game.

Among the worst of these glitches is the so-called “Loss Glitch” reportedly affecting those who started an offline franchise. Over the past several days, social media has been aflame with reports of franchise games registering as a loss even after a big win.

The problematic nature of the “Loss Glitch” is clear: it’s tough to keep the motivation to stick with a franchise mode game if the results aren’t accurate. This follows reports of online franchise desync issues that were addressed by server maintenance late last week.

Franchise mode isn’t the only area of Madden 22 racked by bugs. Visual glitches abound on the field, and playing defense has proven to be difficult as players fail to move to the correct part of the field.

“Madden will always be home base. EA has been great to me in the limited capacity I’ve worked with them. And it’s not about any individuals,” one streamer wrote today in reference to the various frustrations surrounding the gameplay, including the lack of word on a patch. “I’m considering streaming some other games while they figure it all out. I don’t feel valued as a player.”

Visual glitches and gameplay bugs have become an annual tradition for Madden NFL, particularly at launch — issues only exacerbated by the shift to work-from-home during the COVID-19 pandemic. While multiple EA devs have told me that many of the process problems raised by the move have been ironed out, this year’s version still seems notably buggy.

I encountered plenty of these bugs in my own review of Madden 22, writing that it was evident that it was the “same old Madden” after just a few hours. I didn’t encounter the loss glitch due to saving my franchise to the cloud, but I did get repeatedly booted back to the main menu after completing games — an irritating if ultimately harmless issue. Much worse were the strange bounces by the ball, the field glitches, and a multitude of Face of the Franchise issues, such as Trevor Lawrence being drafted back-to-back with my own highly-regarded rookie quarterback.

EA has thus far been silent on timing for a major title update that will address many of these issues. Based on Madden’s prior history, it should be happening relatively soon, and it’s apt to be extensive. Right now, though, Madden seems to be focused on teasing upcoming College Football content on social media.

I have reached out to EA regarding potential patch timing and will update this story if I hear anything. Madden NFL 22 is now available on PC, PS4, PS5, Xbox One, and Xbox Series X|S.

Kat Bailey is a Senior News Editor at IGN

Minecraft Tools Guide – Tool Crafting Materials Ranked From Worst to Best

Note: This guide focuses on the Bedrock version of Minecraft, available on Windows 10, Xbox, PlayStation, Switch, and mobile.

When Minecraft first debuted, you had to figure out what materials and arrangements you needed to use to build tools. These days, it’s a lot simpler–the recipes are built right into the game! But you still need a little bit of knowledge to get beyond those first few days. What tools to use for what tasks, of course, but also what you can build them out of. For best mining locations, standard “ground level” is 62, and underground is typically 61 and below. With all that out of the way, here are Minecraft’s tool crafting materials, ranked from worst to best.

Table of Contents [hide]

Gold

No Caption Provided

Where to find it: Between Layers 5 and 76.

Minecraft is hardly the place to go for realism, but in this case, it’s a pretty good match. Like in real life, the idea of a golden shovel is a lot cooler than the reality. There are plenty of uses for gold in minecraft, but when it comes to tools, you should skip gold entirely. It’s literally the least durable of tool materials. Even if you should happen to pick up a golden tool off of a mob you’ve killed, it’s likely going to be more useful to turn any enchantments into XP with a Grindstone smelt down into a gold scrap than to try to actually use the tool.

Wood

No Caption Provided

Where to find it: Almost everywhere!

Wood is the true starting point for Minecraft tools. It’s plentiful, renewable, and almost twice as durable as gold. You won’t want to stick with wooden tools for long, but it’s a great starting point and will quickly get you to stone tools.

Stone

No Caption Provided

Where to find it: Almost everywhere!

Stone is even more plentiful than wood and again almost twice over as durable. This is where you’ll start to see the benefits of stronger tools in both durability and speed.

Iron

No Caption Provided

Where to find it: Between layers 5 and 61.

The path from stone to iron is pretty clear. Once you have stone tools, you’ll be able to easily mine fast enough and deep enough that you’ll start building a good stock of iron. Iron is more than twice as durable as stone, and is the first block that will let you start to mine more exotic materials like diamond ore. It’s also the first material where you’ll really start to get mad if a creeper sneaks up on you.

Diamond

No Caption Provided

Where to find it: Layers 11-12.

Diamond is the first truly durable material you’ll find for building tools; it’s about the equivalent of 48 golden pickaxes or 26 wooden ones. Because of those pesky creepers, you may want squirrel this away in a safe chest and wait until you can afford a full diamond armor set before you start making tools.

Netherite

No Caption Provided

Where to find it: Exclusively in the Nether between layers 13 and 17.

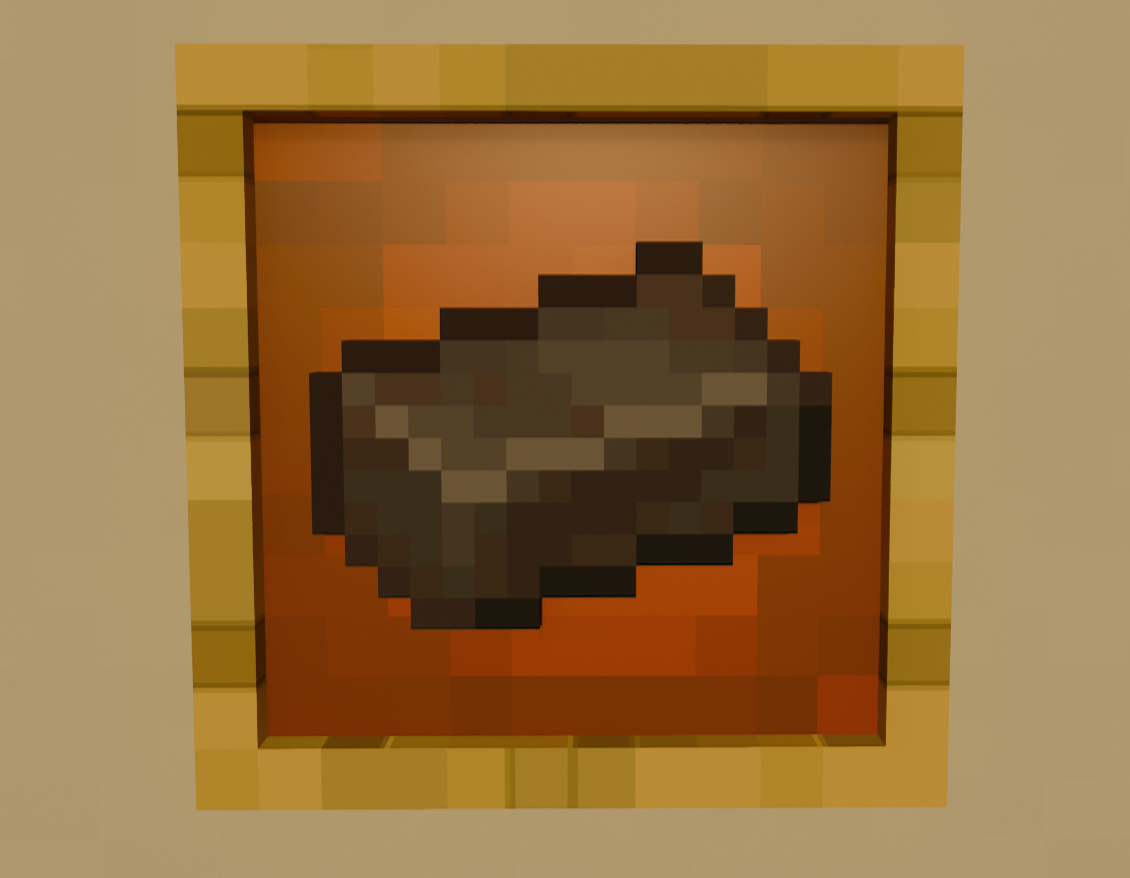
The fastest, most durable, and rarest of all tool-crafting materials, Netherite is found in the Nether, which means you’ll need at least a diamond pickaxe to even get access to it. Netherite is created by finding Ancient Debris in the Nether and burning it down to Netherite Scrap. Combine that with gold to make Netherite Ingots, which you can then take to a Smithing Table to upgrade your Diamond tools to the highest level. At that stage, you may want to wait until you can (literally) fish up some Mending books to make sure these have enough life in them to make the trouble worthwhile.

GameSpot may get a commission from retail offers.

Minecraft Guide – All The Tools You Need To Succeed

You don’t have to use tools in Minecraft. You could just punch trees and dirt and stop there. But you’d be missing out on a lot. Some blocks require an iron or diamond pickaxe to mine. You need a shovel to make paths and a hoe to till ground to grow crops. In other words, tools are required to succeed in Minecraft.

But you don’t need every tool all the time–leave the tilling tools and the enchantment table back at your base when you’re out exploring, but make sure you don’t leave home without a map. We’ve broken the most important tools of Minecraft down into a few discrete categories so that you know which tools you’ll need and when.

Tool Crafting Materials Ranked From Worst to Best

No Caption Provided

The first part of getting the right tools is knowing what to make them out of. The same way that a squeaky clown mallet isn’t great for construction work in real life, a soft golden sword isn’t going to last you long when the hordes come out a night.

The Basics for Mining and Building

No Caption Provided

These are the classics–the tools you’ll almost always want to have on you, from the classic pickaxe on down. These are the first tools you’ll build, and they’ll probably stay in your hotbar from hour 1 to hour 1000.

Navigating Your Way Through Minecraft

No Caption Provided

It’s hard to build a good base if you can’t find that base. Making sure you know how to get home is at least as important as building that home in the first place.

Tools for Long-Term Settlements

No Caption Provided

After hunting and foraging comes farming, both in the history of humankind and in the progression of Minecraft. Why hunt down forest beef when you could have sprawling fields of wheat ready to turn into bread and cake?

Tools For Item Maintenance

No Caption Provided

This is when the grind of Minecraft starts to slow down. Enchanting and repairing tools mean that you can make a piece of hardware last a long time. With the right enchantments, you can even make them last indefinitely.

GameSpot may get a commission from retail offers.

Minecraft Tools Guide – Tools For Item Maintenance

Note: This guide focuses on the Bedrock version of Minecraft, available on Windows 10, Xbox, PlayStation, Switch, and mobile.

can be a huge grind depending on how you play it, and this grind puts off just as many potential Minecraft devotees as it attracts. With the right items, you can whittle that grind down and make Minecraft less about mining, more about crafting. An anvil takes a lot of resources, but the enchantment and renaming abilities make it worthwhile. Your first enchantment table will take a while to build, but its fuel–Lapis Lazuli and XP–are plentiful and easily gained, and both can turn your tools into reliable, long-term friends. To help you sustain yourself more effectively in the brutal world of Minecraft, we’ve compiled details around the game’s most useful tools that’ll help you do just that.

Table of Contents [hide]

Anvil

No Caption Provided

You can repair any item at a Crafting Table, of course, but once you start working with enchanted items, you’ll want an anvil. It requires a lot of iron–31 ingots–but it allows you to repair enchanted items, combine enchantment books, and re-name items.

Grindstone

No Caption Provided

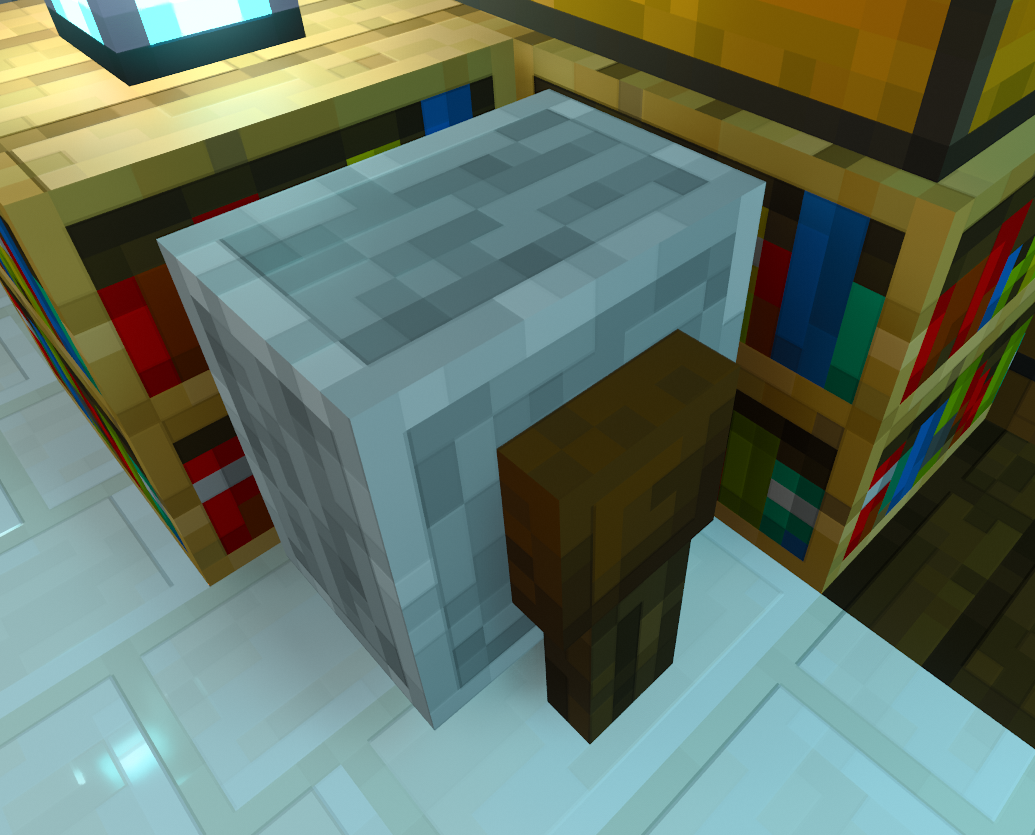
Having enchanted items is a huge step forward, but not every enchantment is useful. A Grindstone will let you remove any non-Curse enchantments from an item, while dumping a bit of XP in return. This is especially useful if you decide to start grinding with fishing as we talked about above.

Enchantment Table

No Caption Provided

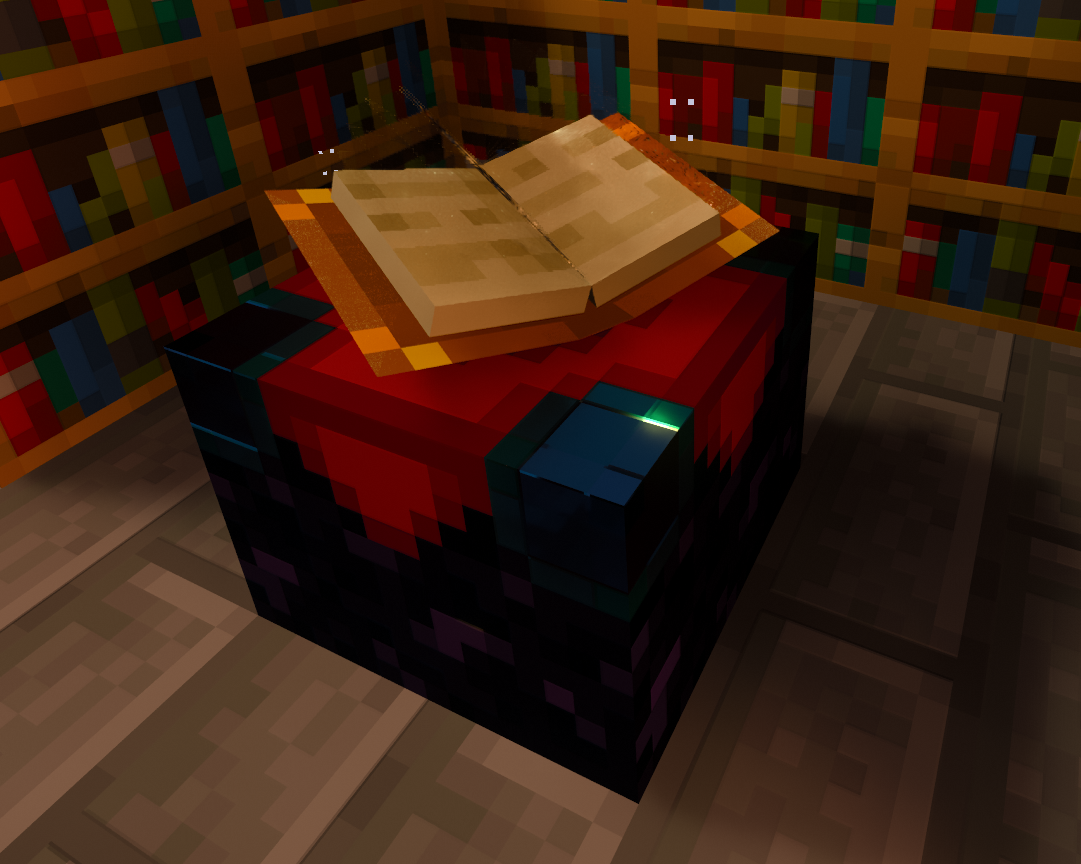
Once you start really mining, you’re going to find so much Lapis Lazuli that you don’t know what to do with it. So what do you do with it? Enchant everything you own. An enchantment table, once built, requires a bit of Lapis Lazuli and some of your precious XP, but the right enchantments can turn a basic tool into a trusted one.

GameSpot may get a commission from retail offers.

Minecraft Tools Guide – Tools For Long-Term Settlements

Note: This guide focuses on the Bedrock version of Minecraft, available on Windows 10, Xbox, PlayStation, Switch, and mobile.

Once you’ve established even a small base, you’ll want to start farming plants and animals alike to make a sustainable living space for yourself. These tools are often more delicate; a pair of shears can disintegrate in a few minutes depending on how you use it, and fishing rods degrade every time you cast your bobber out into the water. Below, we’ve compiled details on every farming tool in Minecraft.

Table of Contents [hide]

Hoe

No Caption Provided

There are a bunch of different plants you can farm in Minecraft, including wheat, beats, sugar, and more–most of them require tilled ground, and that requires a hoe. Unlike with most of the other core tools, though, there’s little value in going past iron with a hoe. If you’re absolutely swimming in diamonds, then it’ll probably be the last hoe you’ll ever need, but you need to be truly Minecraft Wealthy to make that worthwhile. With that said, a hoe is indispensable for building a great base.

Shears

No Caption Provided

Wool has a variety of uses in Minecraft, including making beds, wool blocks, carpeting–great for limiting mob spawns–and if you manage to corral a couple of sheep, it’s easy to generate.

Lead

No Caption Provided

And the best way to get sheep back to your base is to grab the first two out in the wild and bring them back with a lead. A huge variety of mobs can be leashed for populating traditional animal farms as well as more complex Minecraft item farms

Fishing Rod

No Caption Provided

The fishing rod’s utility isn’t immediately apparent, but it’s secretly one of the most useful items in the game. While you can put a variety of enchantments on items by taking them to an enchantment table, you won’t be able to put Mending on your tools–an enchantment that will save you countless headaches as you get deeper into Minecraft. Pair a fishing rod with a good fishing spot (deep water, open space, and open sky), and you can start reeling in enchanted books, bows, and fishing rods. With the help of an anvil, you can enchant a fishing rod with Luck of the Sea III (better drops), Lure II (faster fishing), Unbreakable III and Mending I (slow degradation and self repair) that will pull in tons of useful enchantment books, not to mention an unlimited food supply.

GameSpot may get a commission from retail offers.

Minecraft Navigational Tools Guide – Navigating Your Way Through Minecraft

Note: This guide focuses on the Bedrock version of Minecraft, available on Windows 10, Xbox, PlayStation, Switch, and mobile.

Losing your way in Minecraft can be frustrating. Even though world generation has improved in leaps and bounds over the years, it’s easy to get lost and convince yourself that your base is just past some trees–only to find yourself in a spruce forest after sundown. Fortunately, Minecraft has a few tools that can help you keep track of where you are in the world. Below, we detail all the major navigational tools in the game.

Table of Contents [hide]

Compass

No Caption Provided

The compass is simple to build once you have a stone or iron pickaxe and, if you’re sticking close to your world spawn point, an absolutely crucial tool to find your way back home. Later, you can build a Lodestone and pair your compass with it to make it even more useful.

Maps & the Cartography Table

No Caption Provided

Don’t wait to start mapping. Minecraft is full of stunning vistas, villages and fortresses full of rare blocks and items, and other things worth finding again. If you start a map early on, you’ll have no problem finding your way back to that gorgeous mesa or lush jungle biome you finally found after too much searching.

No Caption Provided

You can build a regular old vanilla map, of course, but if you combine a piece of paper with a compass at a cartography table, it becomes a Locator Map, which shows your location on the sheet. Combine a map with a blank piece of paper, and you’ll get a zoomed-out version–there are four different levels of zoom to use. You can even turn them into art by placing the map in a wall frame so that you can see your glorious handiwork from a bird’s eye view.

Clock

No Caption Provided

The clock is one of the less useful tools in Minecraft but still has its purpose. If you’re spending a lot of time mining, and especially if you’re doing so on a Minecraft realm or Survival Multiplayer server, knowing what time of day it is helps you know when you can deploy your portable bed and refresh yourself.

GameSpot may get a commission from retail offers.

Minecraft Tools Guide – Basic Tools For Mining And Building

Note: This guide focuses on the Bedrock version of Minecraft, available on Windows 10, Xbox, PlayStation, Switch, and mobile.

If fighting games have taught us anything, it’s that punching stuff is lots of fun. But that’ll only get you so far in Minecraft–you’re going to need the right tools to get the job done. Even if you know the basics–grab your pickaxe, shovel, and axe–there’s a whole world of complexity to get lost in. In this guide, we’ll lay out all the tools you need to survive and thrive in Minecraft, what you can build them out of, and how to make the most of them. These items should almost always be in your inventory, as they are the most useful, versatile, and common tools in Minecraft.

Table of Contents [hide]

Pickaxe

No Caption Provided

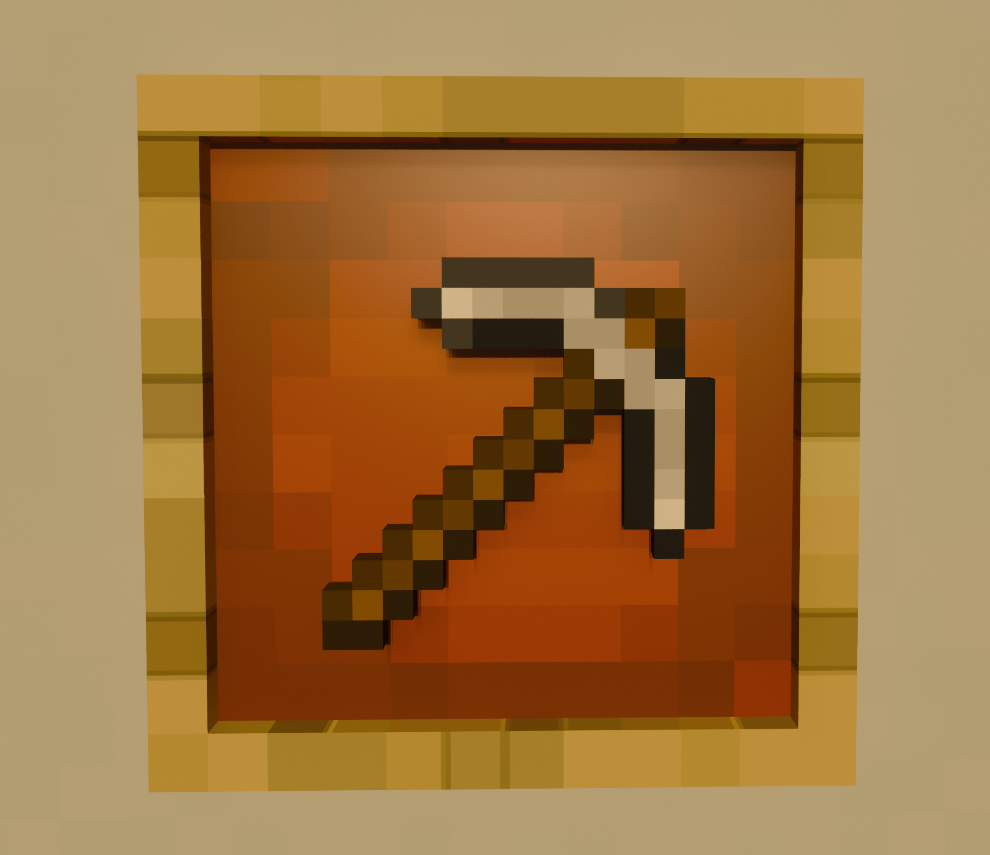
The absolute first tool you should built when getting started. While it’s not terribly useful right on the surface where dirt and wood are the most common blocks, it’s likely the tool you’ll have in your hand the most. It’s also crucial for attaining exotic blocks like diamond, obsidian, and Ancient Debris.

Axe

No Caption Provided

The trusty axe is good for one thing and one thing only, but it does its job better than anything else. Having a good stock of wood is a good first step toward building a good-looking home base for yourself, and it’s one of the most versatile blocks in the game. Alternatively, you can punch trees, of course, but your time is worth more than that.

Shovel

No Caption Provided

Like the axe, the shovel is more limited, being useful for mining softer blocks like dirt, sand, and gravel. Above ground, it’s a great way to terraform an area to your liking, Below ground, it’s crucial for getting all that gravel out of your way. Additionally, the shovel has a secondary action (right-click or left trigger) that lets you make a pathway on grass–a great way to make a space look more civilized or ensure that you can find your way back somewhere.

Crafting Table

No Caption Provided

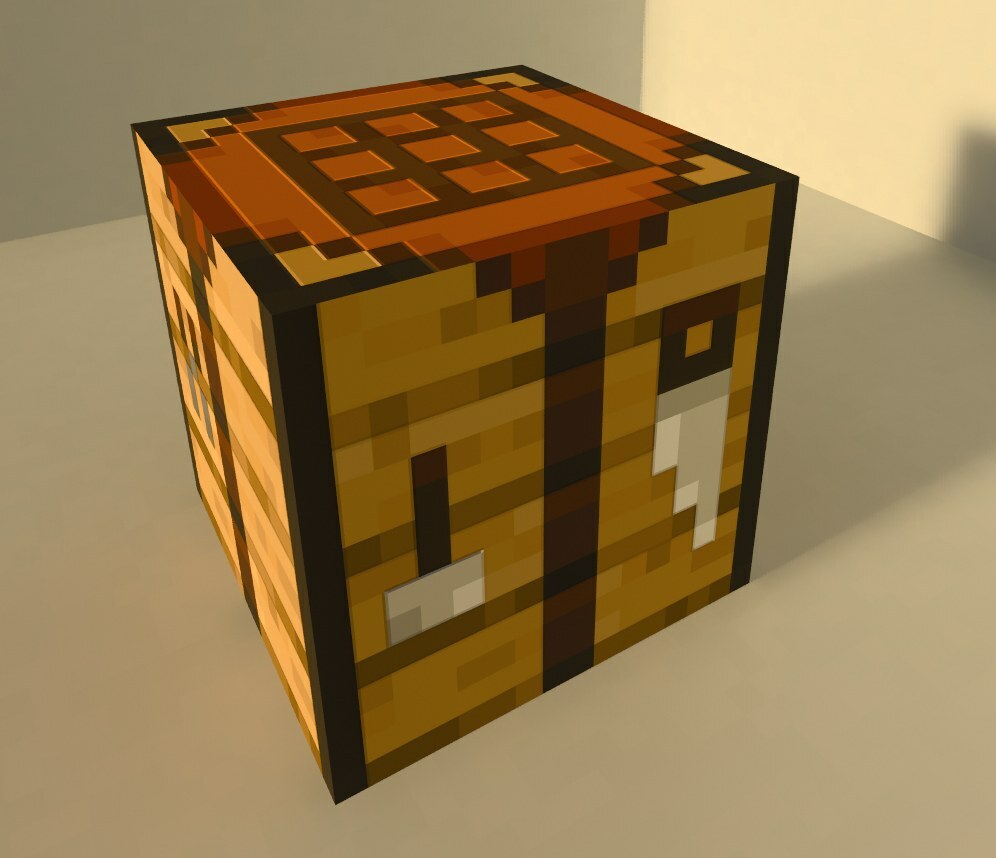
This is where the magic happens. With just one block of wood, broken down into four wooden planks, you can build a crafting table, the place where virtually all Minecraft’s many items come to life. One of these should always be in your inventory.

GameSpot may get a commission from retail offers.

No More Heroes 3 – Rank 4 Boss Fight Guide

SPOILER WARNING: Be careful! No More Heroes 3 is a game filled with surprises, and sometimes boss fights don’t always go as expected. In other words, we recommend not reading the boss strategy until you’ve actually started fighting the boss to avoid spoiling some of the game’s best moments!

Another returning character comes to upstage the guy you’re supposed to fight in No More Heroes 3’s Rank 4 fight. Destroyman has returned, and he has brought some friends. Or rather, a gaggle of mass-produced, mechanized clones of himself. Below, you can find out everything you need to know about defeating Destroyman. For more guides, be sure to check out our No More Heroes 3 beginner’s tips.

How To Defeat Destroyman

The first phase of this fight sees Travis taking on a group of Destroymen. This fight isn’t terribly difficult–at this point, the health and attack power of the Destroyman units is weak compared to the standard foes you’re fighting in Defense Missions and Designated Matches. They fight with very straightforward close-range attacks, which are rather easy to Perfect Dodge and counter. What can prove to be a bit of a problem are their sheer numbers–when you’ve dealt with one group, another will immediately appear. All you need to do is keep fighting until you’ve slain enough of them to trigger the next few story scenes.

The back half of the Destroyman encounter is where the real fight begins. Destroyman True-Face has a mix of close- and long-range attacks that can be a royal pain to deal with. For close-range strikes, he’s got a bunch combo, a twirling-twin-blade attack, an electrified uppercut, and On the ranged side, he can lunge at you with a flying tackle or punch, send lightning blasts coursing along the ground, and fire twin blasts from a homing cannon. The homing attack can be dodged when you see the blasts barrelling down at you, but the lighting attack is a bit trickier: For the first new attack, he will charge up, then fire lighting blasts that shoot across the ground in straight lines around him. You’ll have a second or two to spot where the lightning will move, then get out of the way.

He gains another ranged attack when he’s down to half his life. This new skill, the Destroy Buster, has him fly into the air, then fire a scraping laser that tracks Travis. You’ll need to keep moving through the duration of this attack to avoid being hit. Try to lure the beam to the left or right edge of the arena before it blasts, then quickly move out of the way as it fires and keep running. Be careful because getting blasted against the wall with this will absolutely wreck your life meter! He’ll also upgrade his Destroy Cannon to be able to fire huge energy blasts that cover a decent-sized area, though these don’t doggedly home in on you as the smaller blasts do. (You’ll also see him charge up briefly, giving ample time to dodge.)

All of your Death Glove skills can be put to good use here, particularly the Death Kick, which can interrupt some of his more annoying attacks. Since he’s humanoid-sized, he’s also very vulnerable to stuns and throws, so if you see him getting close to getting dizzy, don’t let up! A good overall strategy is to try and Perfect Dodge his bodily strikes since a successful dodge will set you up in slow-mo for a big counterattack, which can then lead to a dizzy state. There are also times when he won’t be attacking and will walk towards you–try charging up your heavy attack (a skill learned from the Power-Up Machine) and let it loose when he’s close for a good chunk of damage. Keep your guards and dodges at the ready, and you should be able to ground this would-be hero for good.

GameSpot may get a commission from retail offers.